Packaging is often the first physical moment someone has with your brand, whether on a shelf, in a delivery box or in a photo on a product page. For small brands it has a big job: stand out against established competitors, explain the product in seconds and feel worth the price. Here's a practical process, from research to the first print run.
Step 1: Understand where it will be seen
| Setting | What matters most |
|---|---|
| Retail shelf | Standing out at a distance, clear category cues, shelf impact |
| Online product page | Clean, recognisable shapes in small images |
| Delivery and unboxing | Protection, memorable opening experience, shareability |
| Markets and pop-ups | Bold branding, easy to understand at a glance |
Visit shops, browse competitors online and photograph the category. Notice the colours, shapes and words everyone uses, and where there's room to be different.
Step 2: Define the hierarchy
Shoppers scan packaging in seconds. Decide the order in which they should take in information:
- Brand: who makes it
- Product: what it is
- Variant: flavour, scent, size or strength
- Key benefit: why choose it
- Supporting information: ingredients, instructions, certifications
Everything can't be equally loud. A clear hierarchy is what makes packaging look premium.
Step 3: Choose the structure
- Format: box, pouch, bottle, jar, tube, label
- Material: card, kraft, glass, aluminium, plastics, compostables
- Practicality: does it protect the product, stack, ship and open easily?
- Cost: unit costs and minimum order quantities vary widely
Work from your manufacturer's or printer's dieline from the start.
Step 4: Design the visual system
- Apply your brand identity: logo, colours, typography
- Create a variant system so new flavours or sizes slot in easily
- Use photography or illustration that reflects the product honestly
- Test legibility at real size, not zoomed in on a screen
Our article on colour psychology in branding explains how to choose colours that stand out in a category.
Step 5: Include the required information
Requirements depend on the product and market. Food, cosmetics, supplements and electrical goods each have specific rules on ingredients, allergens, warnings, weights and business details. Confirm the exact requirements with a regulatory adviser or trade body. Designers lay information out; the business is responsible for its accuracy.
| Commonly required | Often included |
|---|---|
| Product name and description | Brand story or mission |
| Net quantity | Usage instructions |
| Business name and address | Social handles and website |
| Ingredients and allergens (food, cosmetics) | Recycling guidance |
| Barcodes for retail | Certifications |
Step 6: Think about sustainability
- Use fewer components and less ink coverage
- Choose recyclable or recycled materials where they suit the product
- Make recycling instructions clear
- Avoid mixed materials that are hard to separate
- Right-size boxes for delivery to reduce empty space
Step 7: Prepare print-ready files
- Artwork placed on the correct dieline
- Bleed and safe zones respected
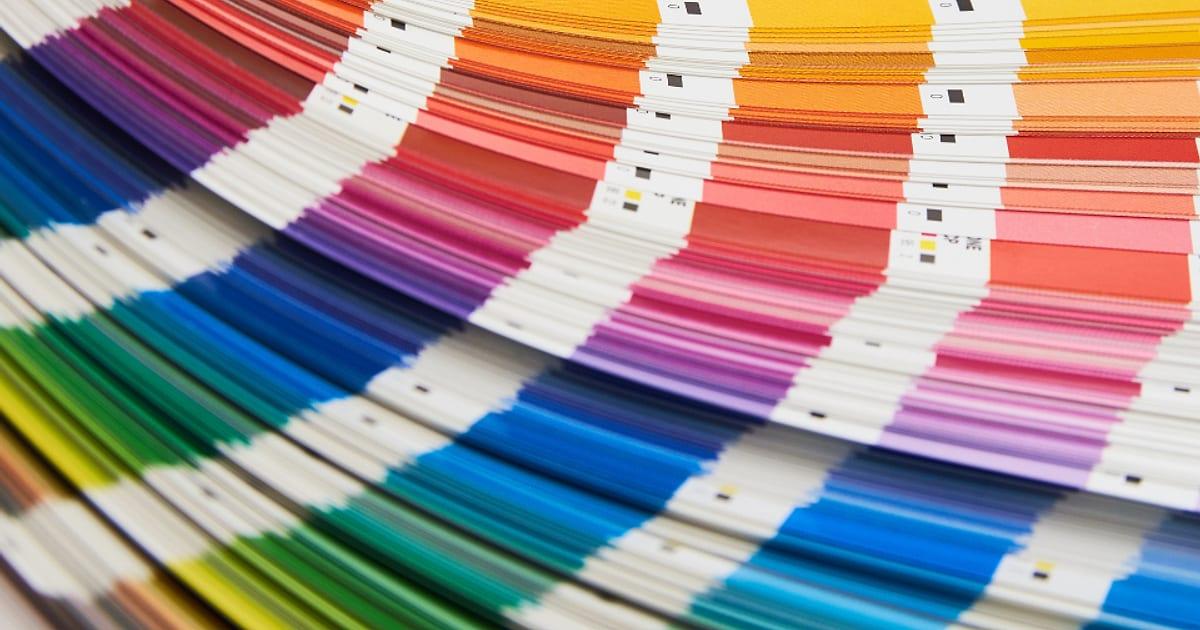
- CMYK or specified Pantone colours
- Fonts outlined or embedded
- Images at print resolution
- Barcodes tested and scannable
- Regulatory text proofread and approved
Step 8: Prototype and proof
Print mock-ups, assemble them and test them in real settings. Put the prototype on a shelf next to competitors. Photograph it for your website. Ask people what the product is and why they'd buy it. Then approve a printer's proof before the full run.
The unboxing experience
For direct-to-consumer brands, the moment of opening matters. Tissue paper, a printed inside lid, a thank-you card or a sample can turn delivery into something people share, and remind them to order again.
Planning budget and timeline
| Stage | Typical duration | Cost drivers |
|---|---|---|
| Research and brief | 1 week | Category complexity |
| Concepts | 1–2 weeks | Number of routes explored |
| Development and variants | 1–3 weeks | Number of SKUs and components |
| Artwork and regulatory checks | 1 week | Amount of required text, languages |
| Proofing | 1–2 weeks | Physical proofs, printer queues |
| Production | Varies by printer and material | Quantity, finishes, materials |
Finishes such as foil, embossing and spot UV add impact and cost; save them for the elements that matter most.
Questions to ask your printer
- What's the minimum order quantity, and how does unit cost change with volume?
- Can you supply the dieline for this structure?
- Which materials and finishes do you recommend for this product?
- What file format, colour profile and bleed do you need?
- Can we see a physical proof before the full run?
- What's the lead time, and how does it change at busy times?
- Do you offer recycled or recyclable options?
- Who checks barcodes and colour accuracy?
Involving the printer early avoids redesigns when a beautiful concept turns out to be impossible, or very expensive, to produce.
How we help
Our packaging and print service covers category research, design, variant systems, print-ready artwork and printer liaison. For product photography that matches the packaging, see our product photography direction service.
The short version
Understand where your packaging will be seen, set a clear information hierarchy, choose a practical structure, design a variant-ready system, include the required information, think sustainably, prepare files properly and test prototypes in real settings before printing.